
 3D Wallpapers
 4K Wallpapers
 Video Wallpapers
 Wallpaper Images
 Slideshow Wallpapers
 Parallax Wallpapers
 Boomerang
 Colorful Wallpapers
 Blue Wallpapers
 Red Wallpapers
 Black Wallpapers
 White Wallpapers
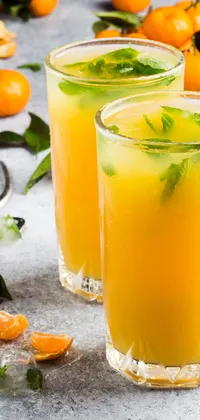
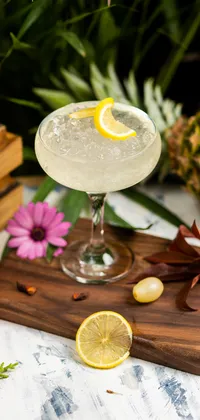
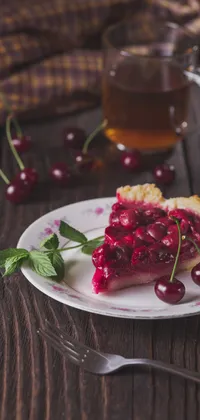
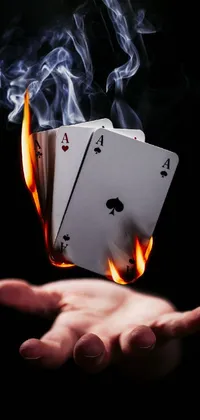
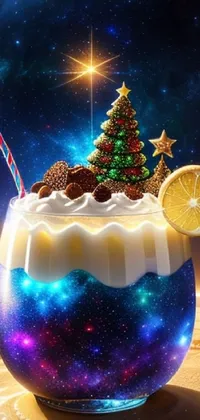
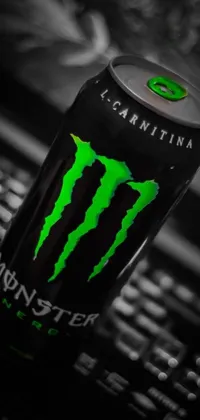
Drinks Live Wallpapers
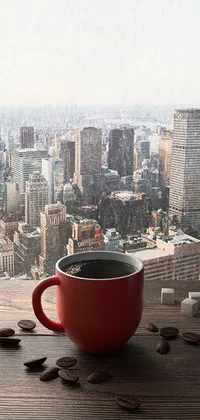
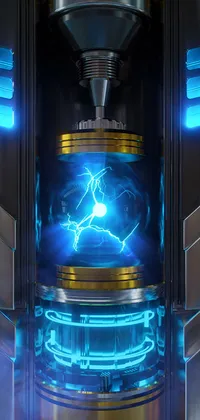
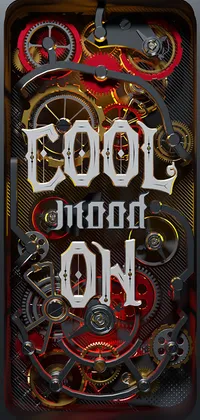
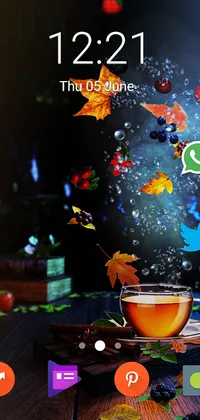
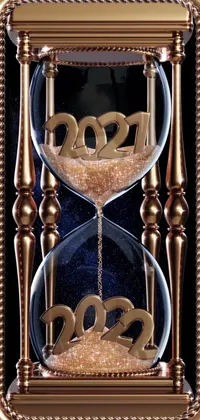
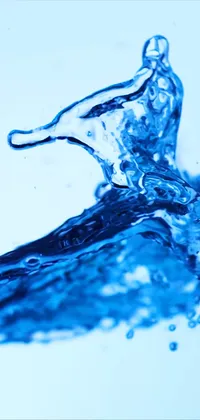
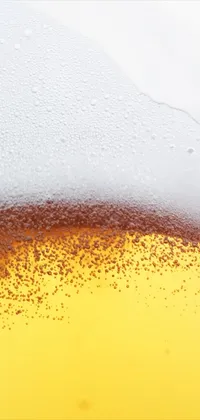
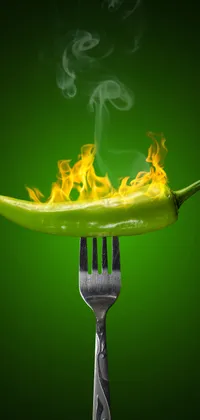
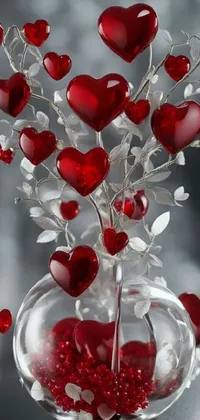
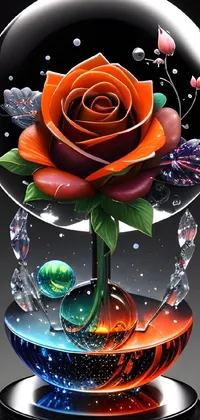
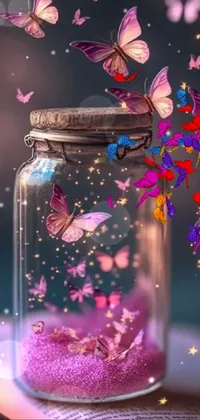
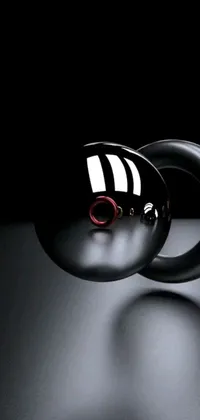
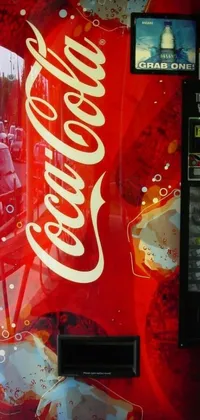
Keen to have a satisfying drink wallpaper? That's great, we'd like to lure you with some delicious phone background art. Explore our rich collection of appealing wallpapers and download them for free with our Wave Live Wallpapers app. You can even make your own wallpapers of your favorite drinks in our app editor, and apply 3D and touch effects. Cheers!


Useful resources:
Related subcategories


LiveWallpapers © 2024